|
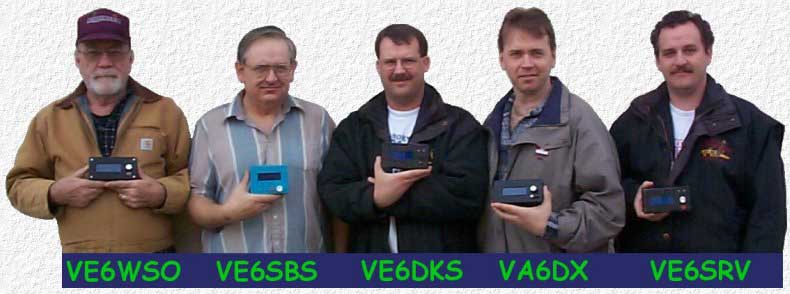
In July 2000, James, VE6SRV, asked if I would be interested in building some HamHUD units. I had too many projects already on the go, but the idea of intelligent beaconing was just too good not to try. So I struck a deal with James. He could use my electronics workshop and machine tools and I would help him build several units, but it would be up to him to figure out how to configure and use them. We decided to build 4 units; one for each of us, one for Don, VE6DKS, and one spare to experiment that we soon promised to Barry, VA6DX. James ordered a LCD display and 4 other components for each unit and I ordered the circuit boards and supplied everything else from my large inventory of new and salvaged components. Then Gene, VE6WSO, showed up with a circuit board so we ended up building 5 HamHUDs in total. Once we started using our HamHUDs, we found it necessary to replace the original reflective LCD displays with backlit ones. These are the 5 HamHUD units built. Mine is the Little Blue HamHUD. |


My Little Blue HamHUD
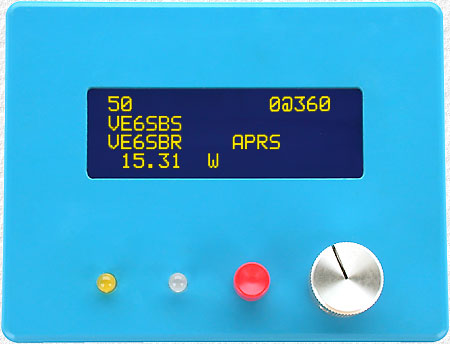 |
Why Blue? The enclosure is a Hammond 1591GBU. The LCD opening was milled out using a ( Poor Man's Milling Machine - a drill press and an inexpensive X-Y vise ) |
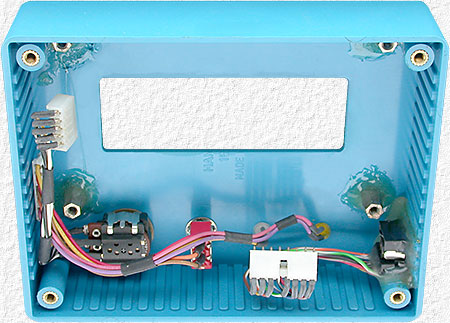 |
To eliminate any visible screws, the case lid, which is often used for the case front, was used for the enclosure back and standoffs, to fasten the LCD and circuit board to, were hot glued inside the case. If urethane adhesive had been handy, I would have preferred to use that as hot glue may prove to be a problem in a vehicle during hot weather. When using glue to attach items, roughen up the items to give the glue the best chance to hold. For hot glue I also warm the plastic and heat metal items to the melting temperature of the glue. BE VERY CAREFUL when heating plastic items! Three connectors allow for quick and easy removal of the circuit board. |
 |
Two wires extend from the circuit board to the buzzer which was too tall to be installed on the circuit board when using this small enclosure. |
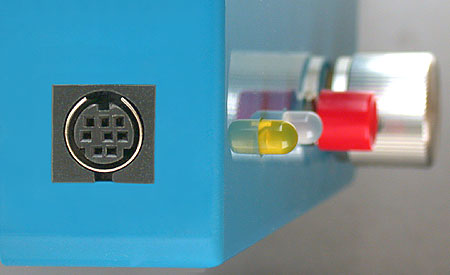 |
This mini-DIN, 8 pin connector was used for equipment connections. It comes with wire leads and is available from Digi-Key. For a mating plug and cable, buy a cable with molded plugs and cut it in half. This will give you two cables, each with a molded plug on one end, for less expense then assembling your own. Molded plugs are smaller and more sturdy then assembled ones, plus it is hard to find any 8 conductor shielded cable as flexible as what you get with a manufactured cable. |
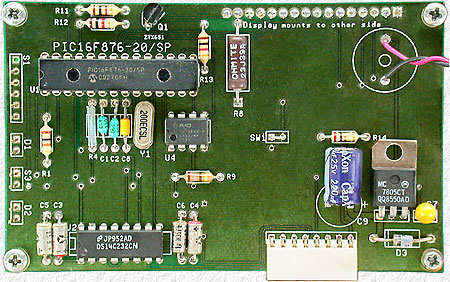 |
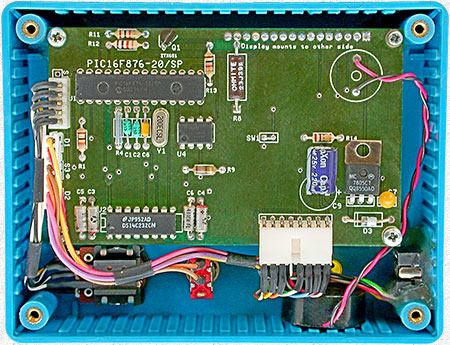
The assembled circuit board. |
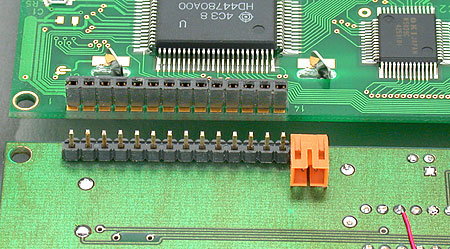 |
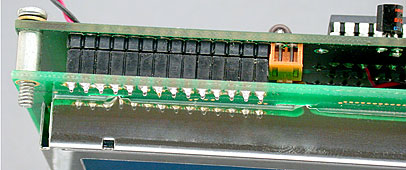
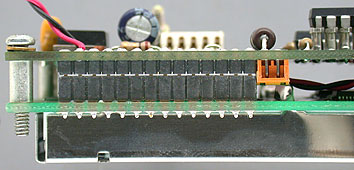
This low height header and connector strip permits the LCD and HamHud circuit boards to be spaced only 9/32" apart.
The additional 2 pin connector is for the LCD backlight circuit. |
  |
|
 |
|
|